Creating Your Own Wedding Invitations
Feeling creative and would love to make your own invites? Or simply want a great way to save but still have stunning laser cut stationery on a smaller budget?
Then our Make Your Own ‘DIY’ wedding stationery is the perfect answer.
It’s a great way to get your bridesmaids and friends involved too, we love the idea of getting together for an evening with a bottle of bubbly and being creative!
How does it work?
Firstly, choose a design from our Make Your Own collection!

You can choose from Vintage Border, Butterfly, Dove, Heart & Wedding Word.
After you’ve found your design, you have two options:
Option 1
You’ll receive the beautiful laser-cut outer cards of your choice, matching envelopes and your choice of coloured inlay from our colour palette.
We can also supply matching paper for printing your inserts, tape for fixing, ribbons and diamantes or pearls for the finishing touches.
Prices from £2.50 each for just a minimum of 20 invites.
Option 2
.. includes everything in option 1, plus inserts printed with your wording in a font of your choice.
Prices from £3.20 each for just a minimum of 20 invites.
Ready to order? Here’s a little bit more information about how to do this!
Next: the creative bit!

Making
Now onto the fun part!
You will need:
- – laser cut outers
- – coloured inlays
- – printed inserts
- – a guillotine (or a cutting knife & metal ruler)
- – thin double sided tape (we can supply this)
- – any decorations you’re going to use (ribbons, diamantes etc.)
- – sharp scissors
- – superglue & tweezers (for diamantes & pearls)

Step one
Trim down your printed outers using the guillotine (or knife & ruler).
Fold these in half & stick a piece of double sided tape to the back of the invitation.

Step two
Fold your coloured inlays in half & remove the backing from the double sided tape on your printed insert.
Stick this carefully inside the colour inlay.

Step three
Using the guillotine (or knife/ruler) trim the edges of the inlay/insert to tidy them up.
Stick another piece of double sided tape to the back of the coloured insert.

Step Four
Remove the backing from the tape & stick the insert to the back of the inside of the laser cut outer.

Step Five
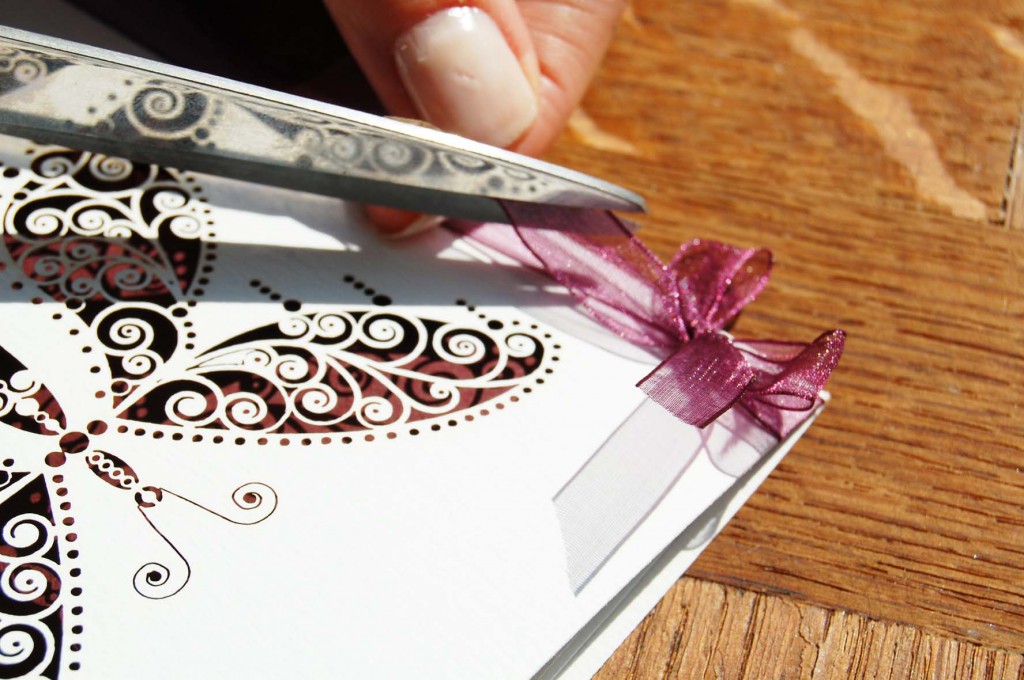
Add ribbon by looping it around the invitation & tying it in a small bow at the top of the front.
Trim the ends of the ribbon with sharp scissors for a neat finish.


Step Six
Add diamantes or pearls using a tiny dot of super glue.
Use tweezers to gently place the decorations on top of the glue.
Leave your invitations out for awhile to dry (make sure they’re not touching each other!)


Step Seven
Write your guests names on your invitations & their addresses on the envelopes.
Pop a stamp on them & they’re ready to send!


